Managing Projects
What is a Project?
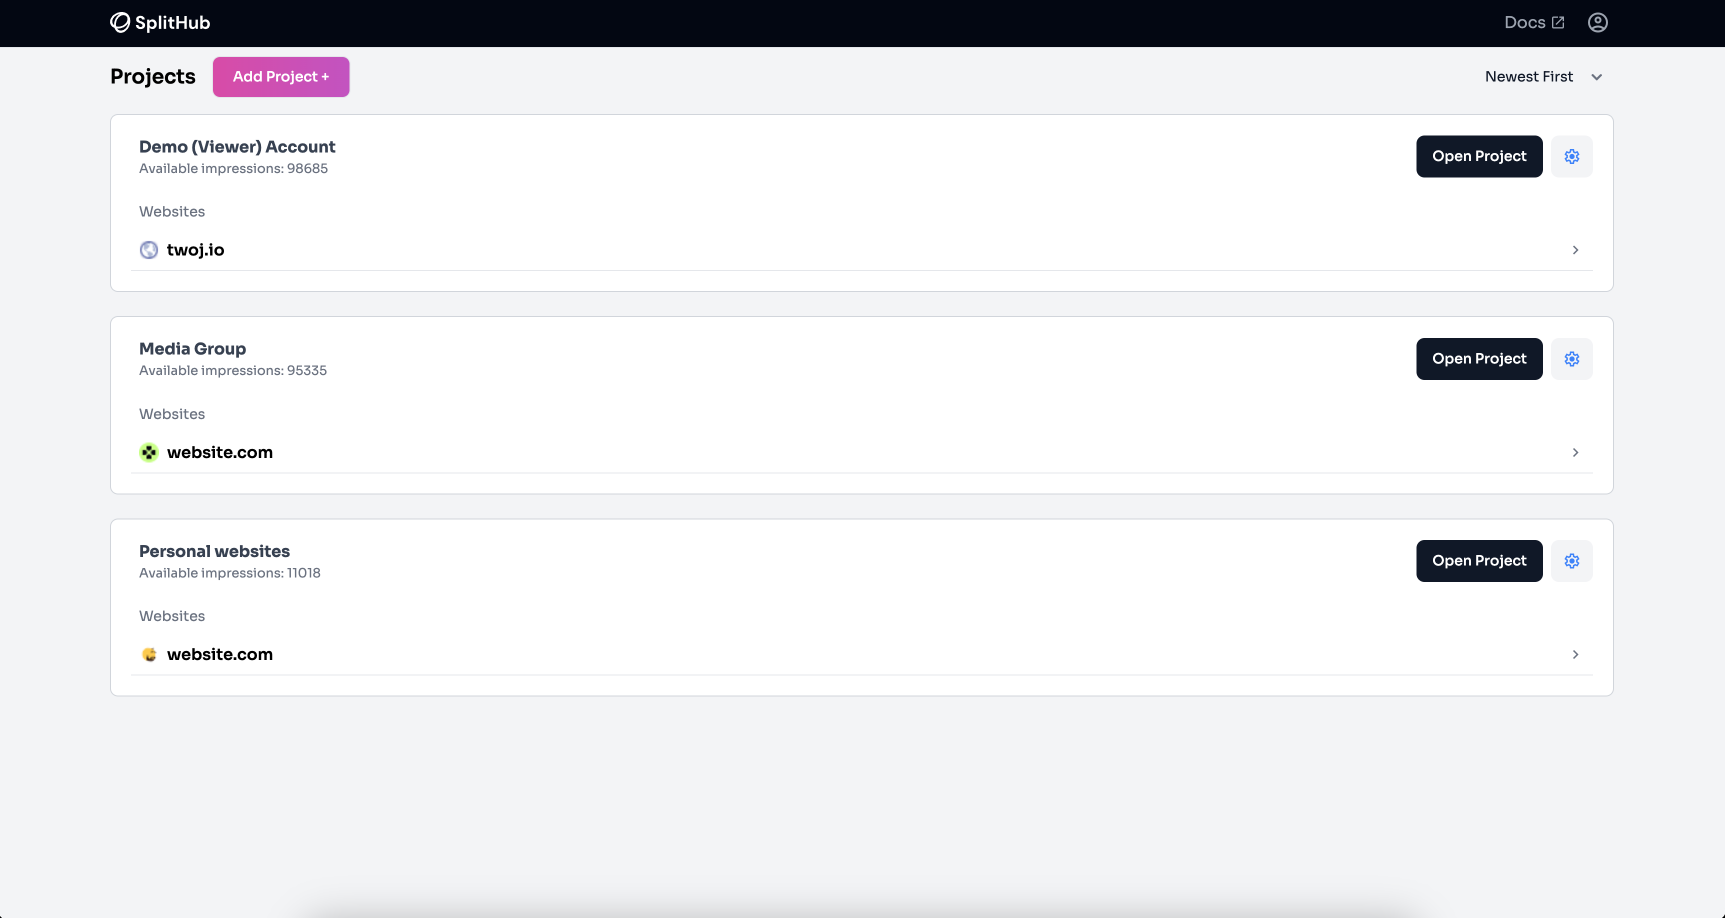
A project in SplitHub is a container that helps you manage your websites and their associated A/B tests. Within a project, you can purchase and allocate impressions, set up tests, and manage user permissions. Projects provide a centralized location for all your A/B testing activities.
Creating a Project

- Create a Project: Projects are used to collect websites. Users can also purchase impressions for a project and use them across all websites within the project.
- To Create a Project: Click the "Add Project" button, then name your project.
- Buy Impressions: After creating a project, you can buy impressions. Each project comes with 2000 free impressions.
- Set Permissions:
- Admin: Can buy impressions for the project and manage users.
- Editor: Can add websites and set up tests.
- Viewer: Can only check results.
Adding a Website to a Project
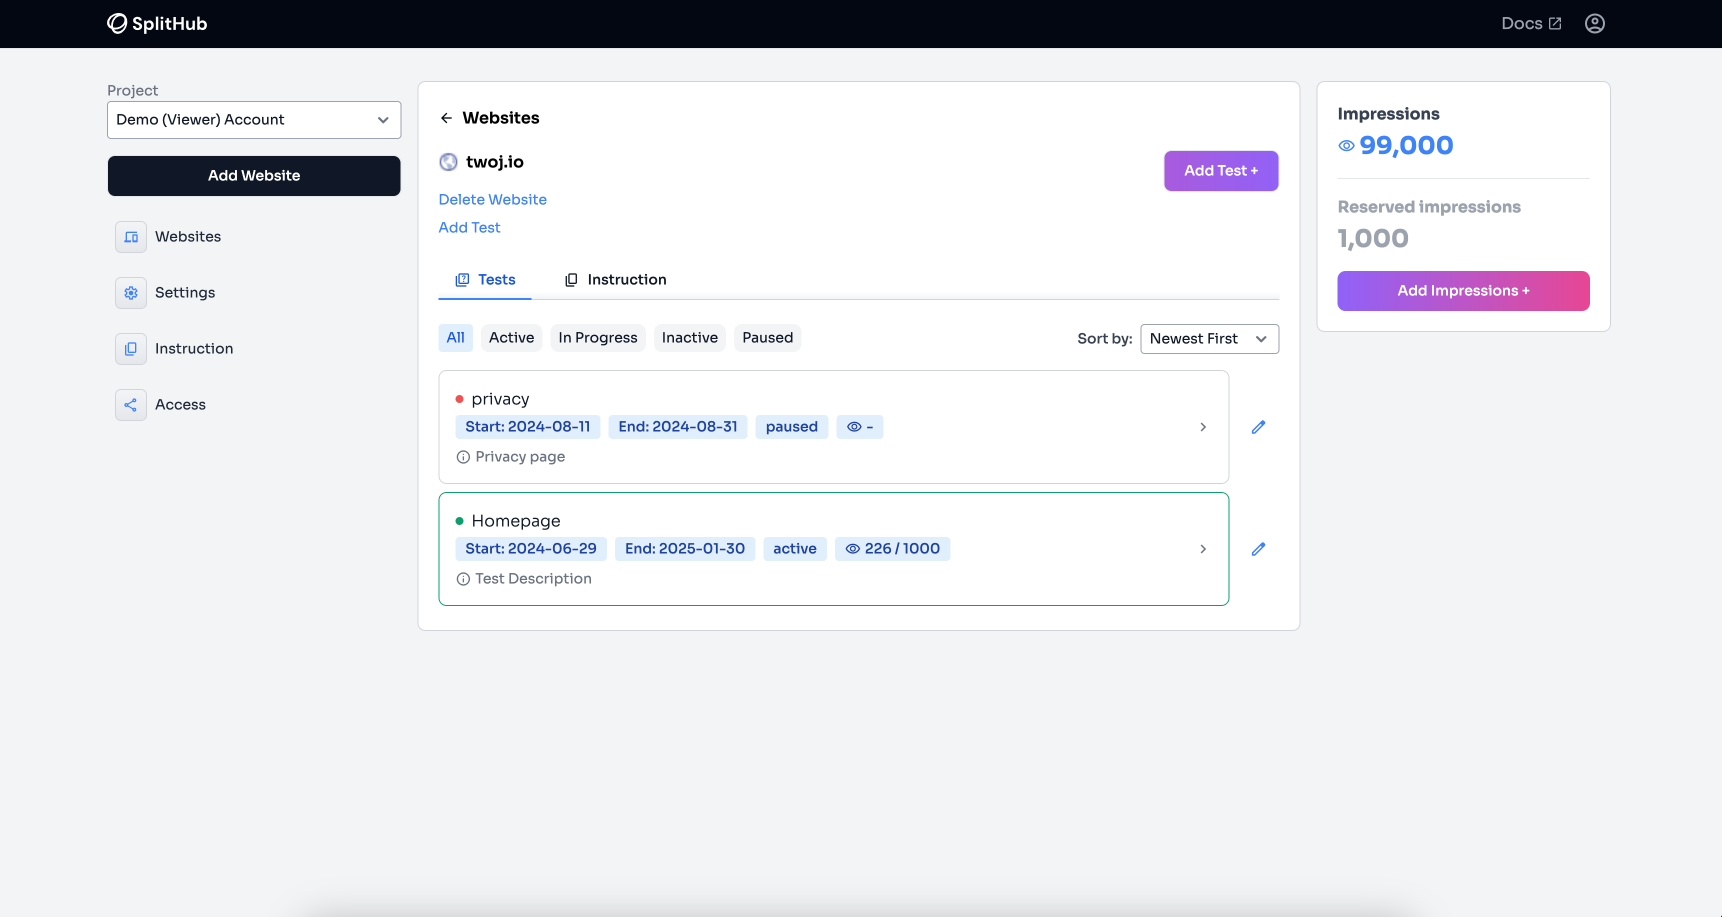
- Add Website: Once you add a website to a project, you can find the integration instructions by clicking the "Instruction" button. This will provide you with the main script and the conversion script, including the ID for the website.
Setting Up Tests

- Create a Test: After adding a website, you can start adding tests. Set the tested page path and name the test.
- View Current Tests: On the website page, users can see current tests with statistics for each test, such as:
- Test Name
- Status
- Impressions
- Start Date
- End Date
- Description
Configuring a Test

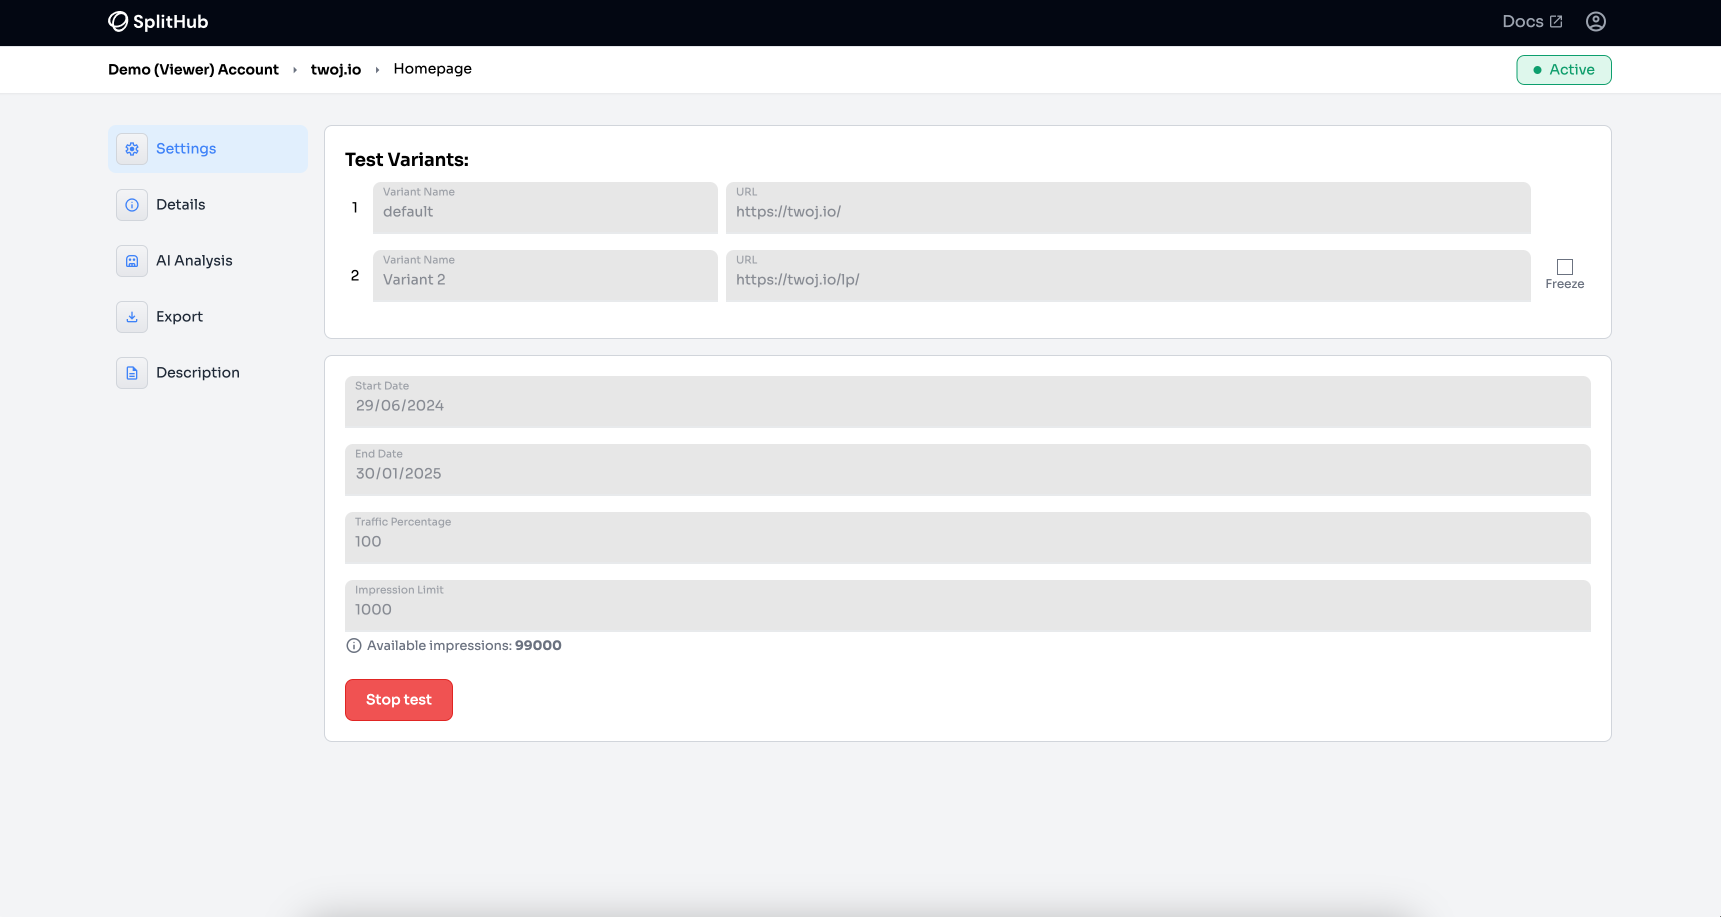
- Edit Test: Click on a test to configure it.
- Add Variants: Add options for the split test.
- Set Parameters: Set the number of impressions, traffic percentage, start and end dates.